


Game Information
MCG
| fourth Quarter | |||
|---|---|---|---|
| Time | Team | Play | Score |
| 38:49 |  | B. Campbell Behind | 131 - 78 |
| 36:28 | | H. McLean Goal | 131 - 77 |
| 34:54 |  | J. Melksham Goal | 131 - 71 |
| 32:24 | | C. Warner Goal | 125 - 71 |
| 28:23 | | C. Cleary Behind | 125 - 65 |
| 26:46 | | B. Fritsch Goal | 125 - 64 |
| 23:44 | | J. Melksham Goal | 119 - 64 |
| 21:05 | | H. Sharp Goal | 113 - 64 |
| 17:38 | | T. Sparrow Goal | 107 - 64 |
| 17:12 | | T. Sparrow Behind | 101 - 64 |
| 16:02 | | I. Heeney Goal | 100 - 64 |
| 11:33 | | C. Oliver Goal | 100 - 58 |
| 9:13 | | H. Sharp Goal | 94 - 58 |
| 8:25 | | C. Cleary Behind | 88 - 58 |
| 5:36 | | C. Mills Goal | 88 - 57 |
| 4:35 | | K. Pickett Behind | 88 - 51 |
| 2:44 | | H. Petty Goal | 87 - 51 |
| 0:55 | | I. Heeney Goal | 81 - 51 |
| third Quarter | |||
| Time | Team | Play | Score |
| 30:33 | | B. Campbell Goal | 81 - 45 |
| 28:24 | | C. Petracca Behind | 81 - 39 |
| 26:52 | | K. Pickett Goal | 80 - 39 |
| 24:54 | | K. Pickett Behind | 74 - 39 |
| 22:31 | | C. Salem Goal | 73 - 39 |
| 20:40 | | B. Fritsch Goal | 67 - 39 |
| 17:32 | | K. Pickett Goal | 61 - 39 |
| 15:35 | | W. Hayward Behind | 55 - 39 |
| 11:27 | | C. Cleary Behind | 55 - 38 |
| 9:44 | | W. Hayward Goal | 55 - 37 |
| 7:41 | | Rushed | 55 - 31 |
| 6:24 | | M. Gawn Behind | 54 - 31 |
| 2:25 | | N. Blakey Goal | 53 - 31 |
| 0:29 | | K. Pickett Goal | 53 - 25 |
| second Quarter | |||
| Time | Team | Play | Score |
| 28:22 | | J. Melksham Behind | 47 - 25 |
| 23:36 | | K. Pickett Behind | 46 - 25 |
| 22:08 | | J. Melksham Behind | 45 - 25 |
| 19:55 | | K. Pickett Behind | 44 - 25 |
| 19:17 | | K. Chandler Behind | 43 - 25 |
| 17:25 | | K. Pickett Goal | 42 - 25 |
| 13:51 | | C. Salem Behind | 36 - 25 |
| 10:34 | | J. Hamling Goal | 35 - 25 |
| 7:50 | | T. Sparrow Goal | 35 - 19 |
| 6:43 | | C. Petracca Behind | 29 - 19 |
| 4:28 | | C. Petracca Goal | 28 - 19 |
| 2:31 | | I. Heeney Goal | 22 - 19 |
| 0:37 | | H. Langford Behind | 22 - 13 |
| first Quarter | |||
| Time | Team | Play | Score |
| 27:29 | | P. Ladhams Goal | 21 - 13 |
| 24:49 | | Rushed | 21 - 7 |
| 22:31 | | Rushed | 20 - 7 |
| 20:44 | | J. Melksham Goal | 20 - 6 |
| 18:23 | | P. Ladhams Goal | 14 - 6 |
| 15:46 | | K. Pickett Goal | 14 - 0 |
| 14:59 | | B. Fritsch Behind | 8 - 0 |
| 9:17 | | Rushed | 7 - 0 |
| 1:42 | | M. Gawn Goal | 6 - 0 |
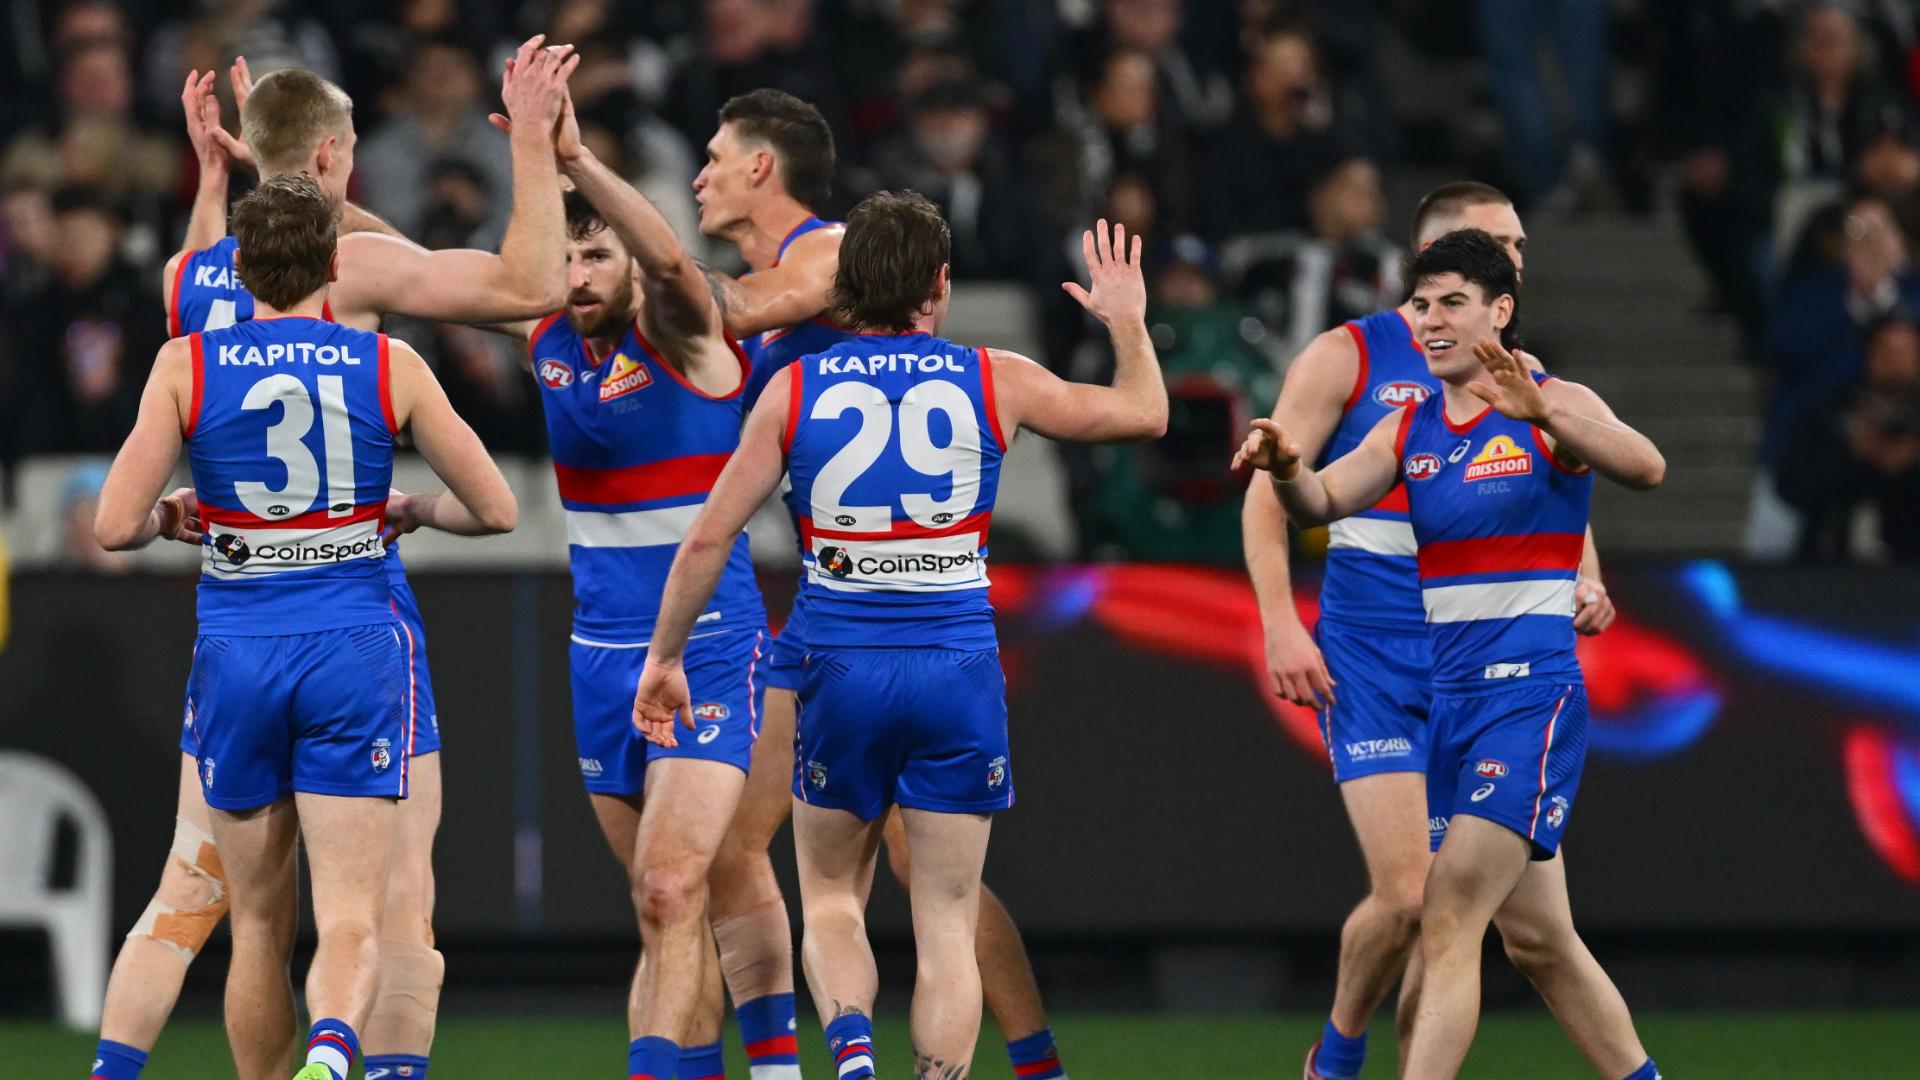
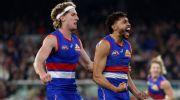
Everyone's suddenly wild about the wildcard, but did the AFL get 'lucky'? Plus, the Bulldogs' turnaround and the Magpies' list concerns. Here's three things we learned from the Dogs' classic win over Collingwood.
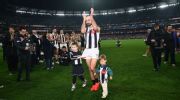
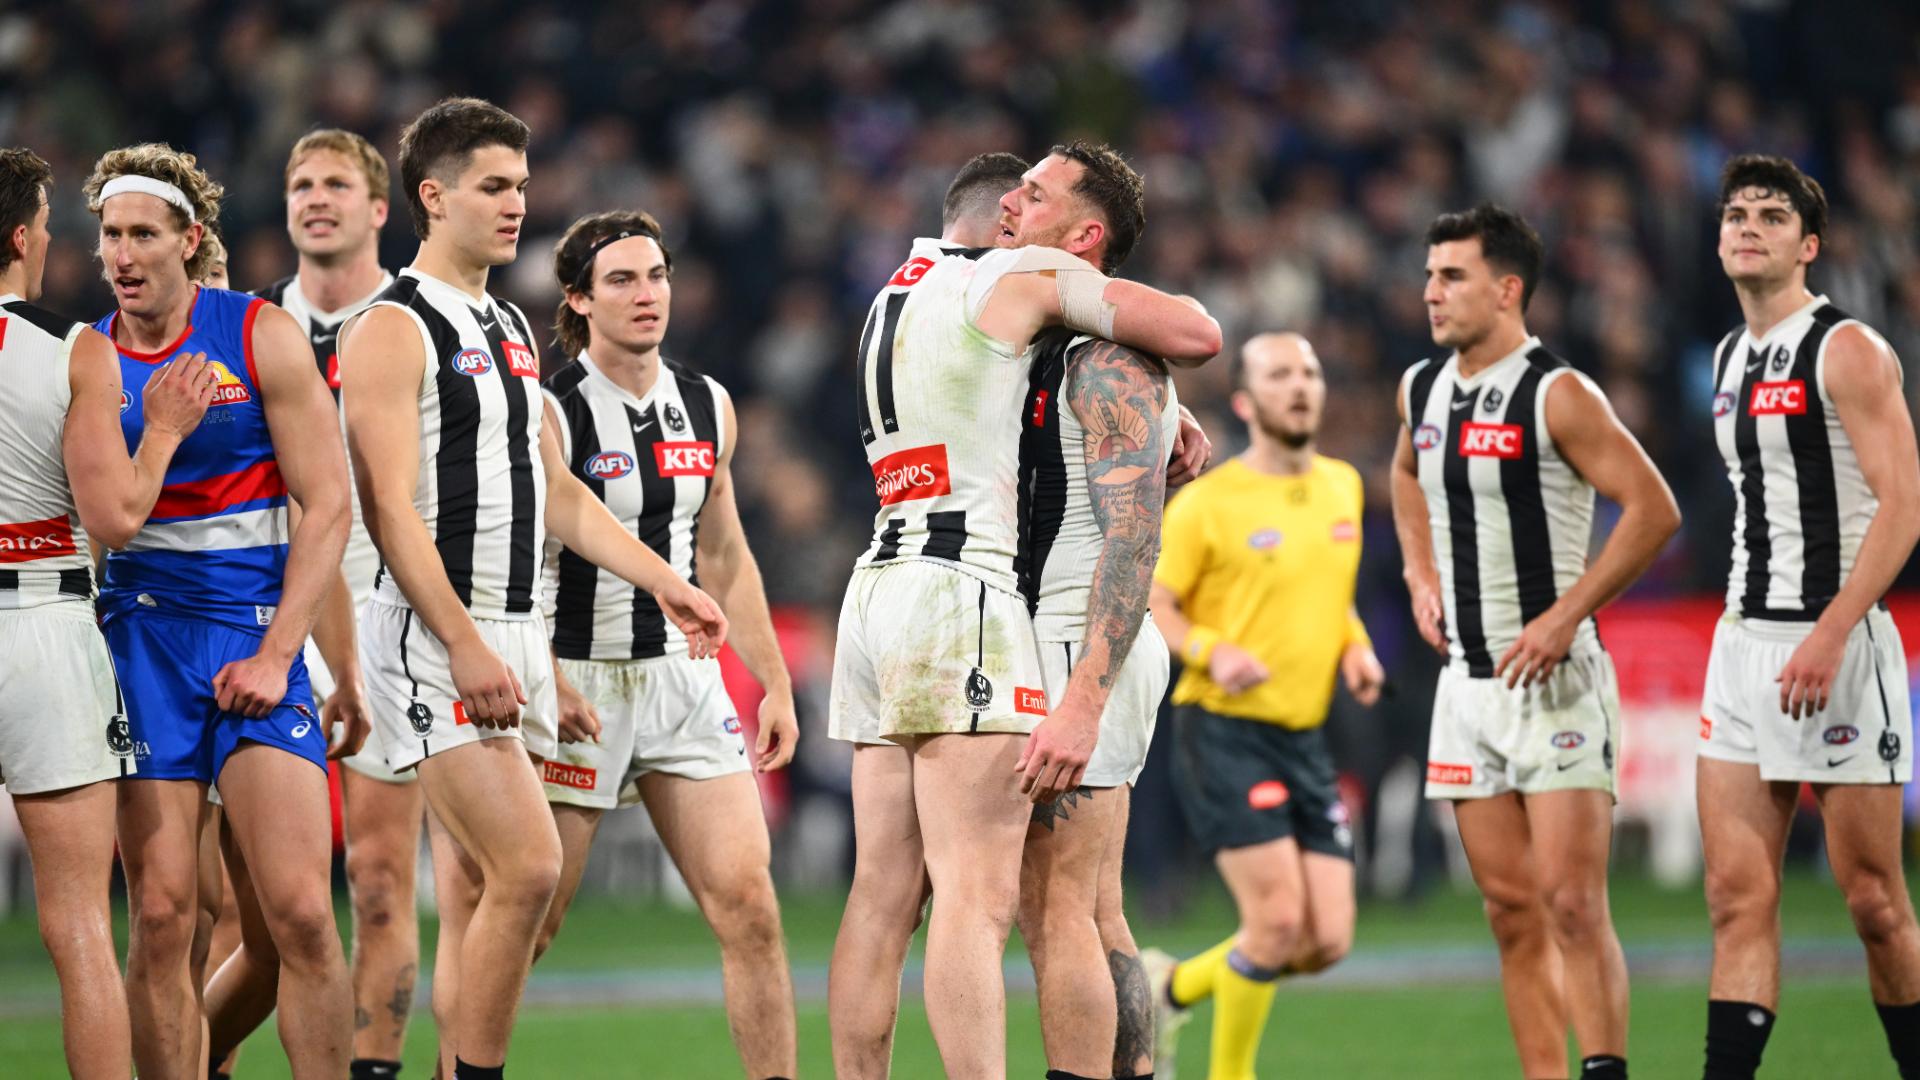
Moments after his storied AFL career ended in heartbreak, Collingwood great Steele Sidebottom cut to the chase when asked to sum up the ending.
In an all-time finish, the Western Bulldogs escape with a wild wildcard victory after Tim Membrey misses after the siren.
The Bulldogs superstar jukes around his Collingwood counterpart and steps inside 50 to score a massive goal in their wildcard final.
The Western Bulldogs have won the first AFL wildcard final by three points, beating Collingwood by three points in an outstanding clash.
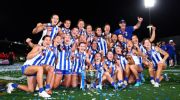
The AFLW Grand Final will be played under Friday night lights for the first time, with the November 27 date confirmed.
| POS | Team | Pts. | % | Form |
|---|---|---|---|---|
| 1 |
 FRE FRE
|
76 | 137.2 | WWLWL |
| 2 |
 SYD SYD
|
72 | 136.1 | WWWWW |
| 3 |
 BL BL
|
64 | 121.7 | WLWWW |
| 4 |
 HAW HAW
|
64 | 120.1 | WWLDW |
| 5 |
 GEEL GEEL
|
60 | 122.3 | WWWWW |
| 6 |
 ADEL ADEL
|
60 | 117.3 | LWWLW |
| 7 |
 MELB MELB
|
60 | 109.6 | LWWWL |
| 8 |
 WB WB
|
54 | 95.4 | WLLDW |
| 9 |
 COLL COLL
|
52 | 102.4 | WLWDL |
| 10 |
 CARL CARL
|
50 | 101.5 | WWWDW |
| 11 |
 STK STK
|
40 | 102.8 | WLLWL |
| 12 |
 GWS GWS
|
40 | 98.9 | LWLWL |
| 13 |
 SUNS SUNS
|
36 | 94.5 | LLWLW |
| 14 |
 NMFC NMFC
|
36 | 88.8 | LLWLL |
| 15 |
 PORT PORT
|
28 | 88.1 | LLLLW |
| 16 |
 WCE WCE
|
16 | 69.2 | LLLLL |
| 17 |
 RICH RICH
|
12 | 62.5 | LWLLL |
| 18 |
 ESS ESS
|
8 | 64.6 | LLLLL |